
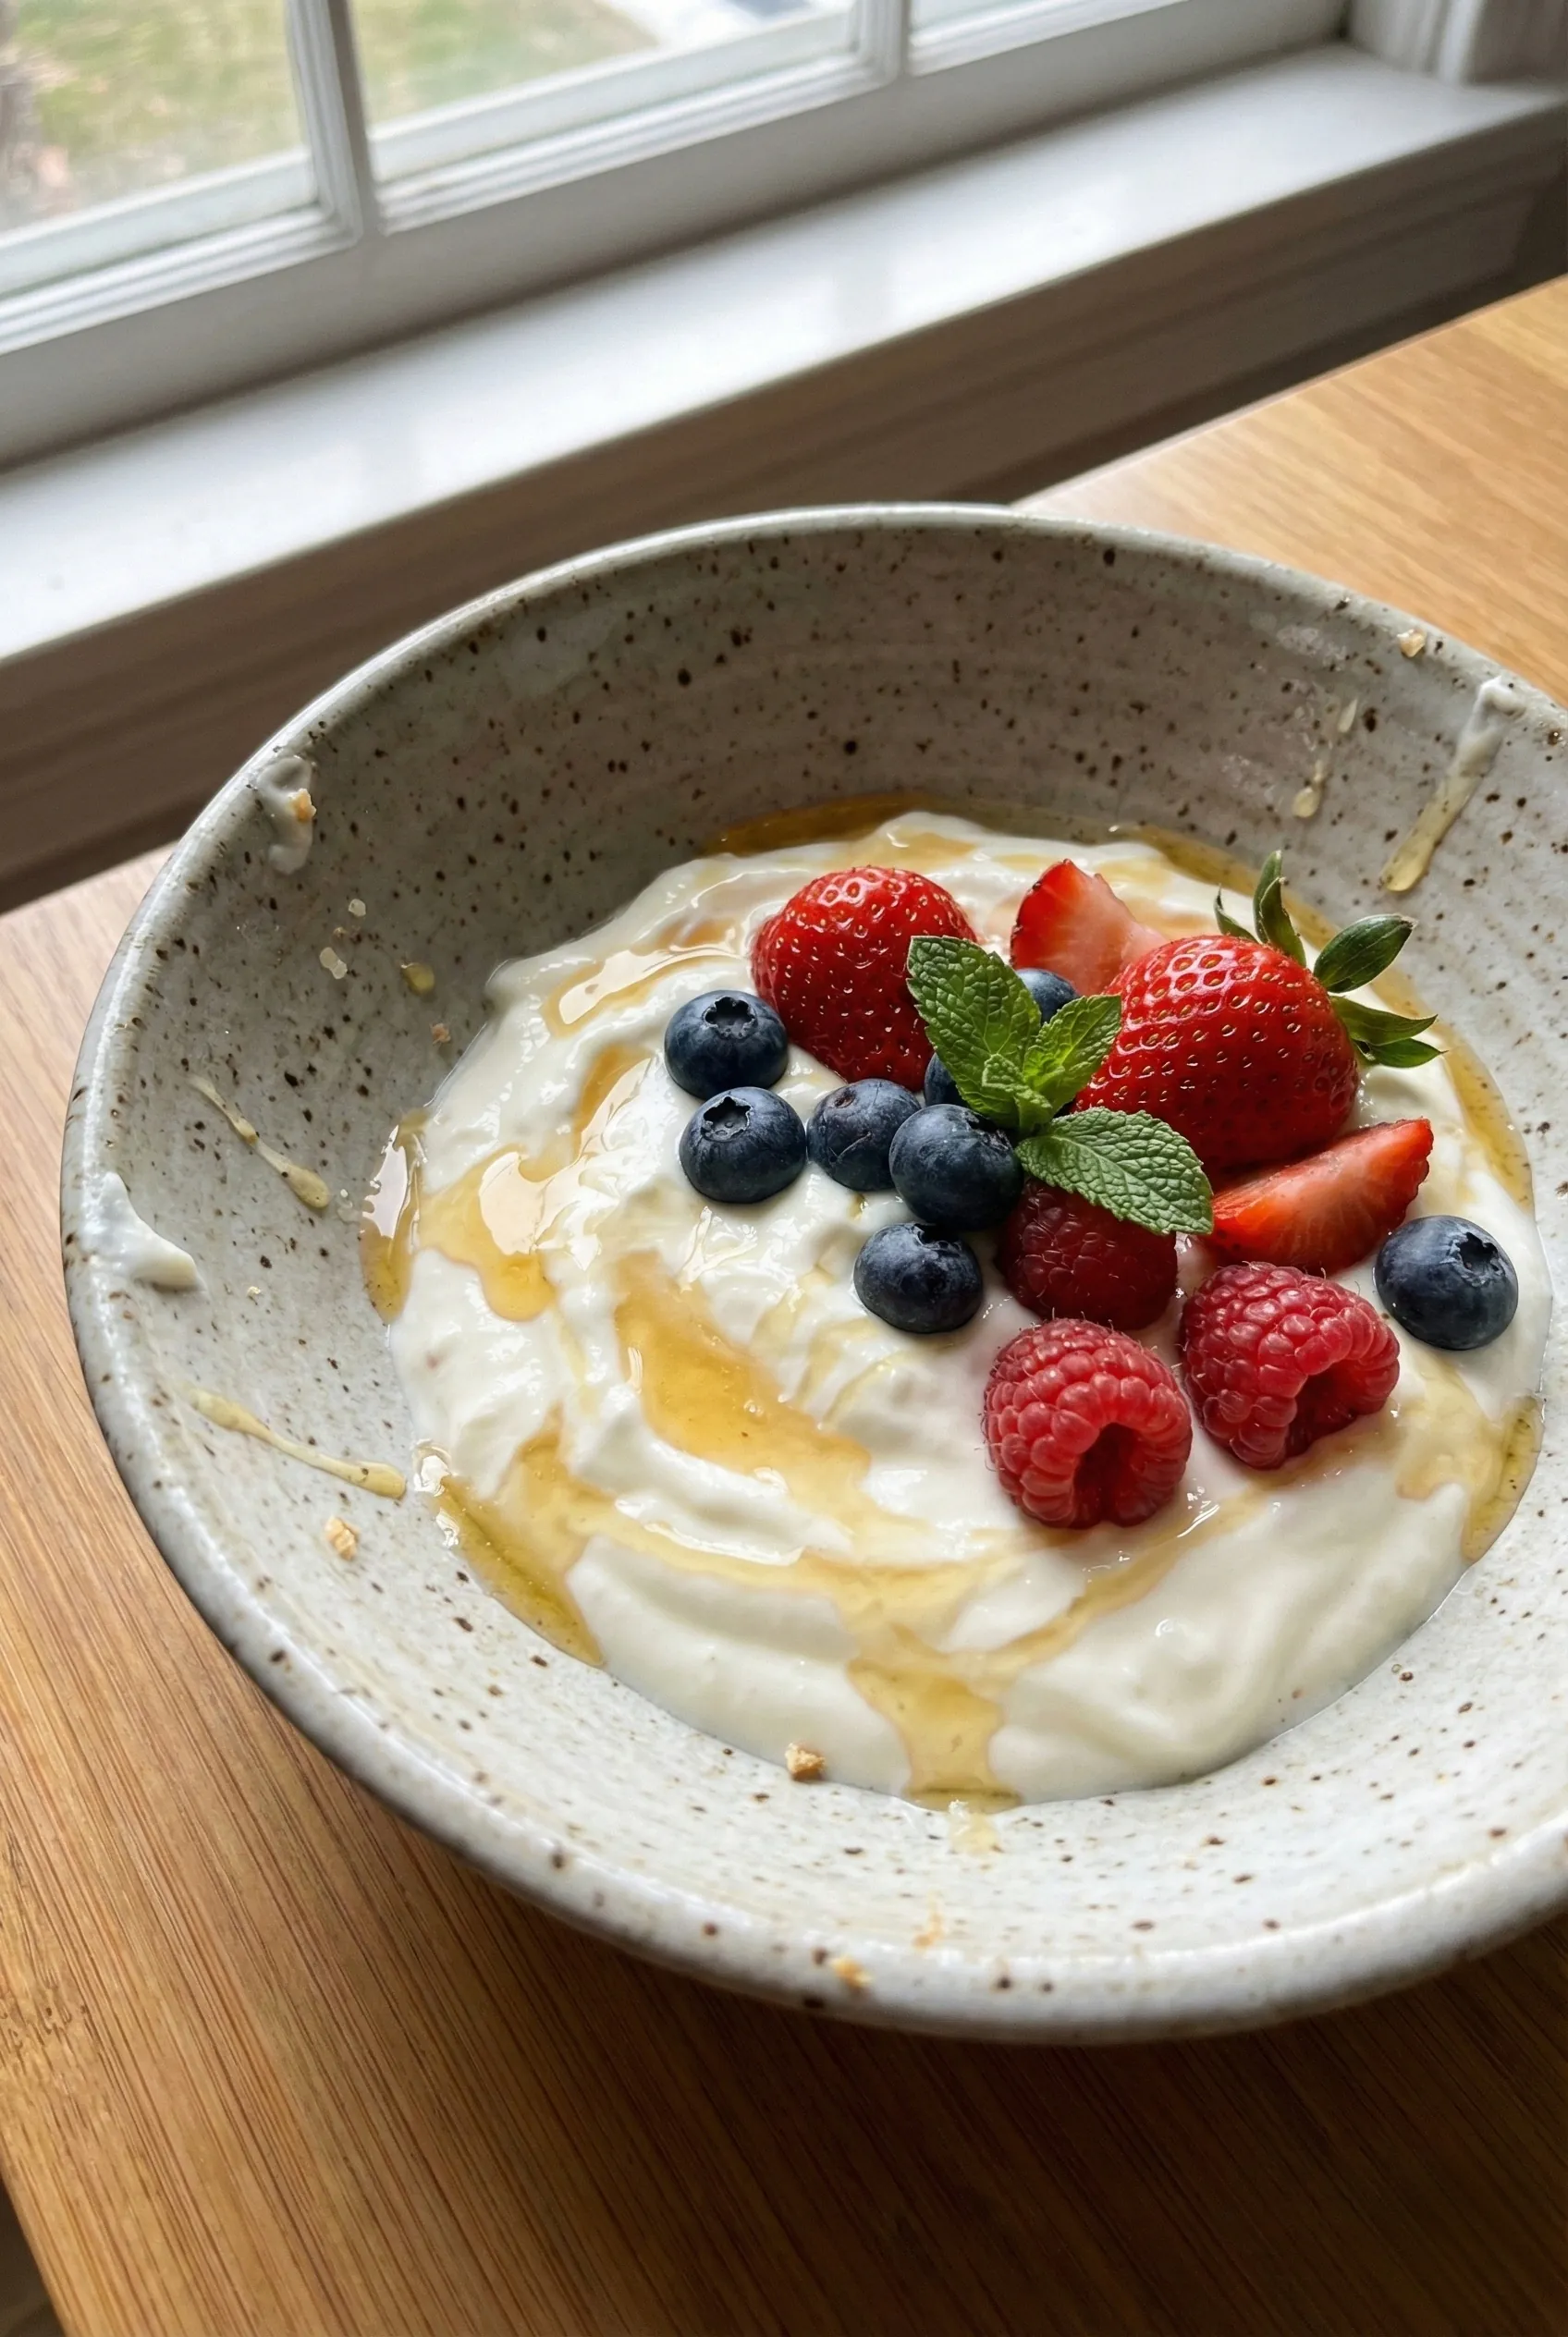
Have you ever tasted that creamy, velvety yogurt that just melts in your mouth? Trust me, I’ve made this homemade yogurt countless times, and every single batch has been a hit with family and friends! There’s something truly magical about transforming simple ingredients like milk and yogurt cultures into a nutritious staple that you can enjoy in so many ways. This Yogurt Making Guide will walk you through every step, and I promise you, it’ll be a game-changer in your kitchen!
Why You’ll Love This Yogurt Making Guide
- Easy to Make: With just a few ingredients and minimal effort, you can create a delicious batch of yogurt.
- Versatile: Use it in breakfast bowls, smoothies, or even as a base for dressings and dips.
- Nutritious: Packed with probiotics, it’s a gut-friendly addition to your diet.
- Cost-Effective: Save money by making your own yogurt instead of buying expensive store brands.
- Customizable: Experiment with flavors and textures to suit your taste preferences.
The Secret to Perfect Yogurt
The secret to perfect homemade yogurt lies in the temperature and the culture you use. Trust me, keeping the milk at the right temperature while it ferments is crucial for achieving that luscious texture. I recommend using a thermometer to ensure the milk reaches the ideal temperature of around 180°F before cooling it down to about 110°F to add your yogurt culture. This process helps create that thick, creamy consistency we all love! Also, don’t skimp on the quality of your yogurt starter; a good culture makes all the difference.
Rave Reviews from Friends and Followers
“I never thought making yogurt could be this easy! This guide was super helpful, and my family loved the results.” — Sarah M.
“Your yogurt is now a staple in our house! I can’t get over how creamy it is compared to store-bought.” — Jason T.
“I followed the guide step by step, and it turned out perfect! Now I’m experimenting with flavors!” — Emily R.
Creative Variations to Try
- Vanilla Bean Yogurt: Add real vanilla bean paste for a subtle sweetness.
- Honey & Almond: Stir in honey and chopped almonds for a delightful crunch.
- Berry Bliss: Mix in fresh or frozen berries for a fruity twist.
- Coconut Yogurt: Use coconut milk for a tropical flavor.
Bonus: Try adding a sprinkle of cinnamon or nutmeg for a warm, cozy flavor!
FAQs – All Your Questions Answered!
How long does homemade yogurt last?
Homemade yogurt can last about 1-3 weeks in the fridge, depending on how well it’s sealed.
Can I use non-dairy milk?
Yes! Almond milk, coconut milk, and soy milk can all work, but make sure to add a thickener like agar-agar or cornstarch.
What if my yogurt doesn’t thicken?
It might be due to insufficient fermentation time or the temperature being too low. Try letting it ferment longer or ensure it stays warm.
Can I use store-bought yogurt as a starter?
Absolutely! Just make sure it contains live cultures for the best results.
Storage/Serving Tips
- Store yogurt in an airtight container in the fridge to maintain freshness.
- Homemade yogurt typically lasts 1-3 weeks.
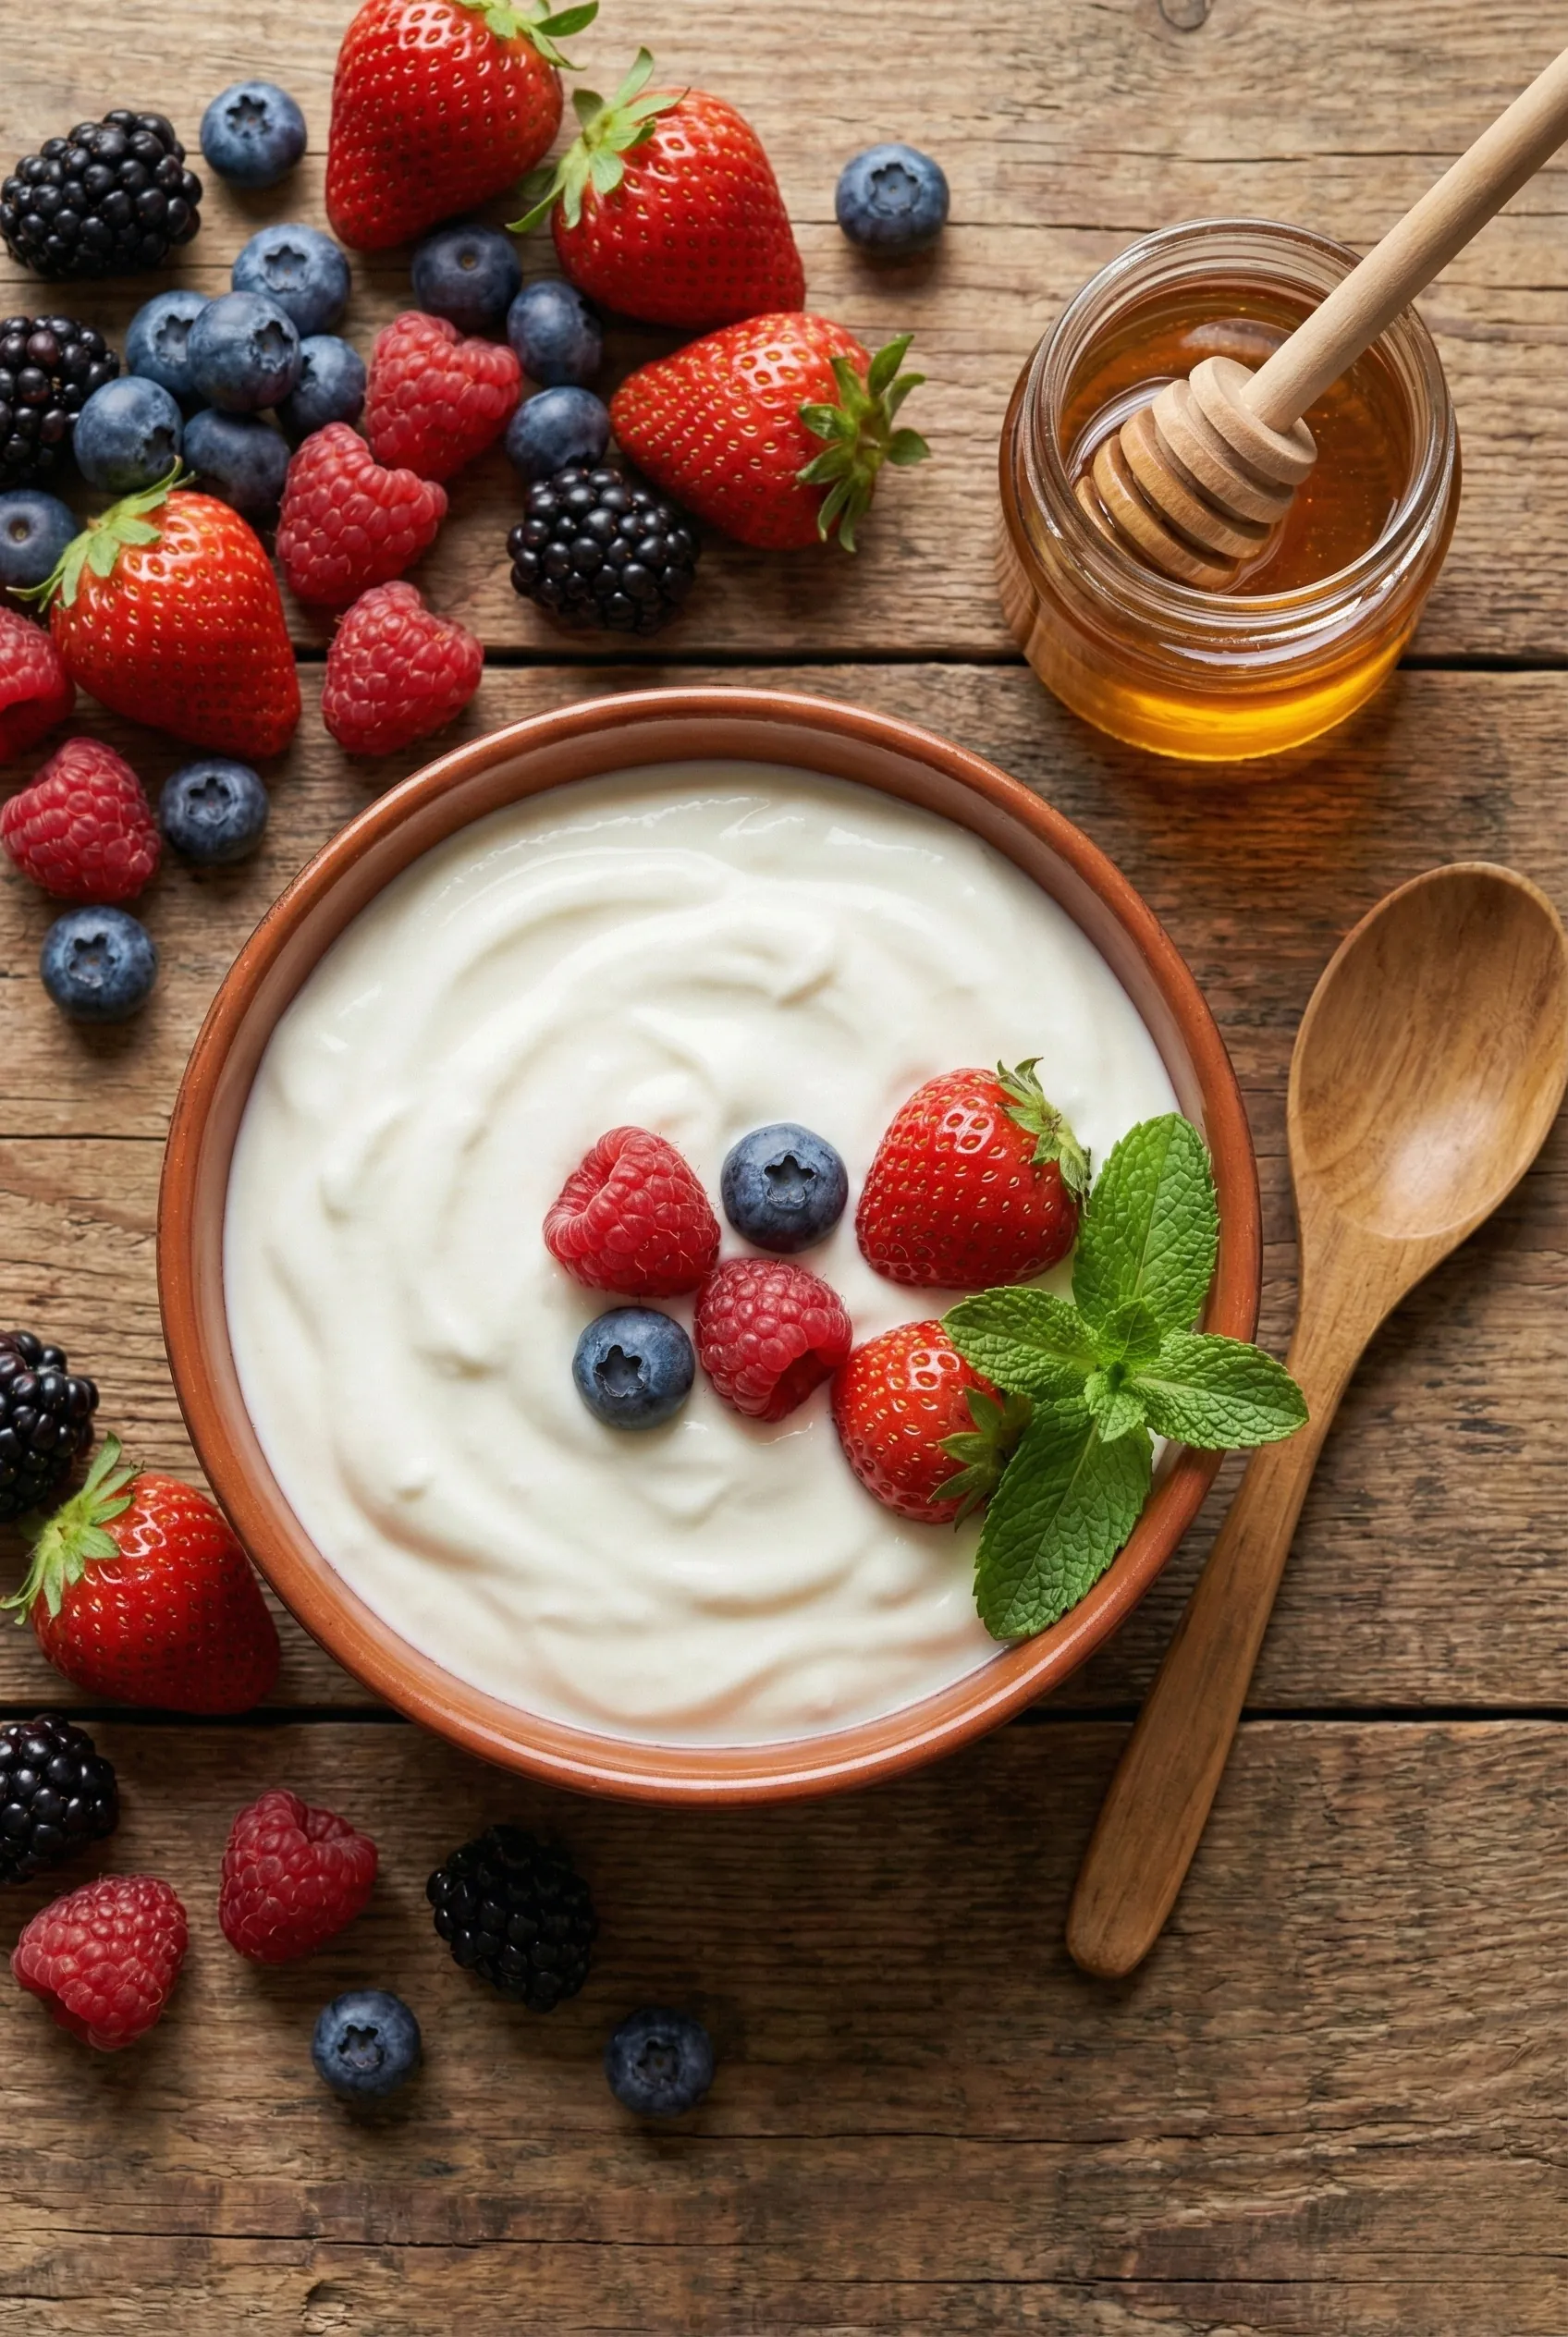
- Serve it plain, topped with fruits, nuts, or granola for a delicious breakfast or snack.
Perfect Occasions for Homemade Yogurt
- Breakfast on busy mornings.
- As a base for smoothie bowls.
- During family brunch gatherings.
- As a healthy snack for kids after school.
- In cooking for creamy sauces or dressings.
The Complete Recipe
Thank you for sticking with me through this yogurt adventure! Now, let’s dive into the complete recipe so you can start making your own delicious yogurt.
Homemade Yogurt
Ingredients
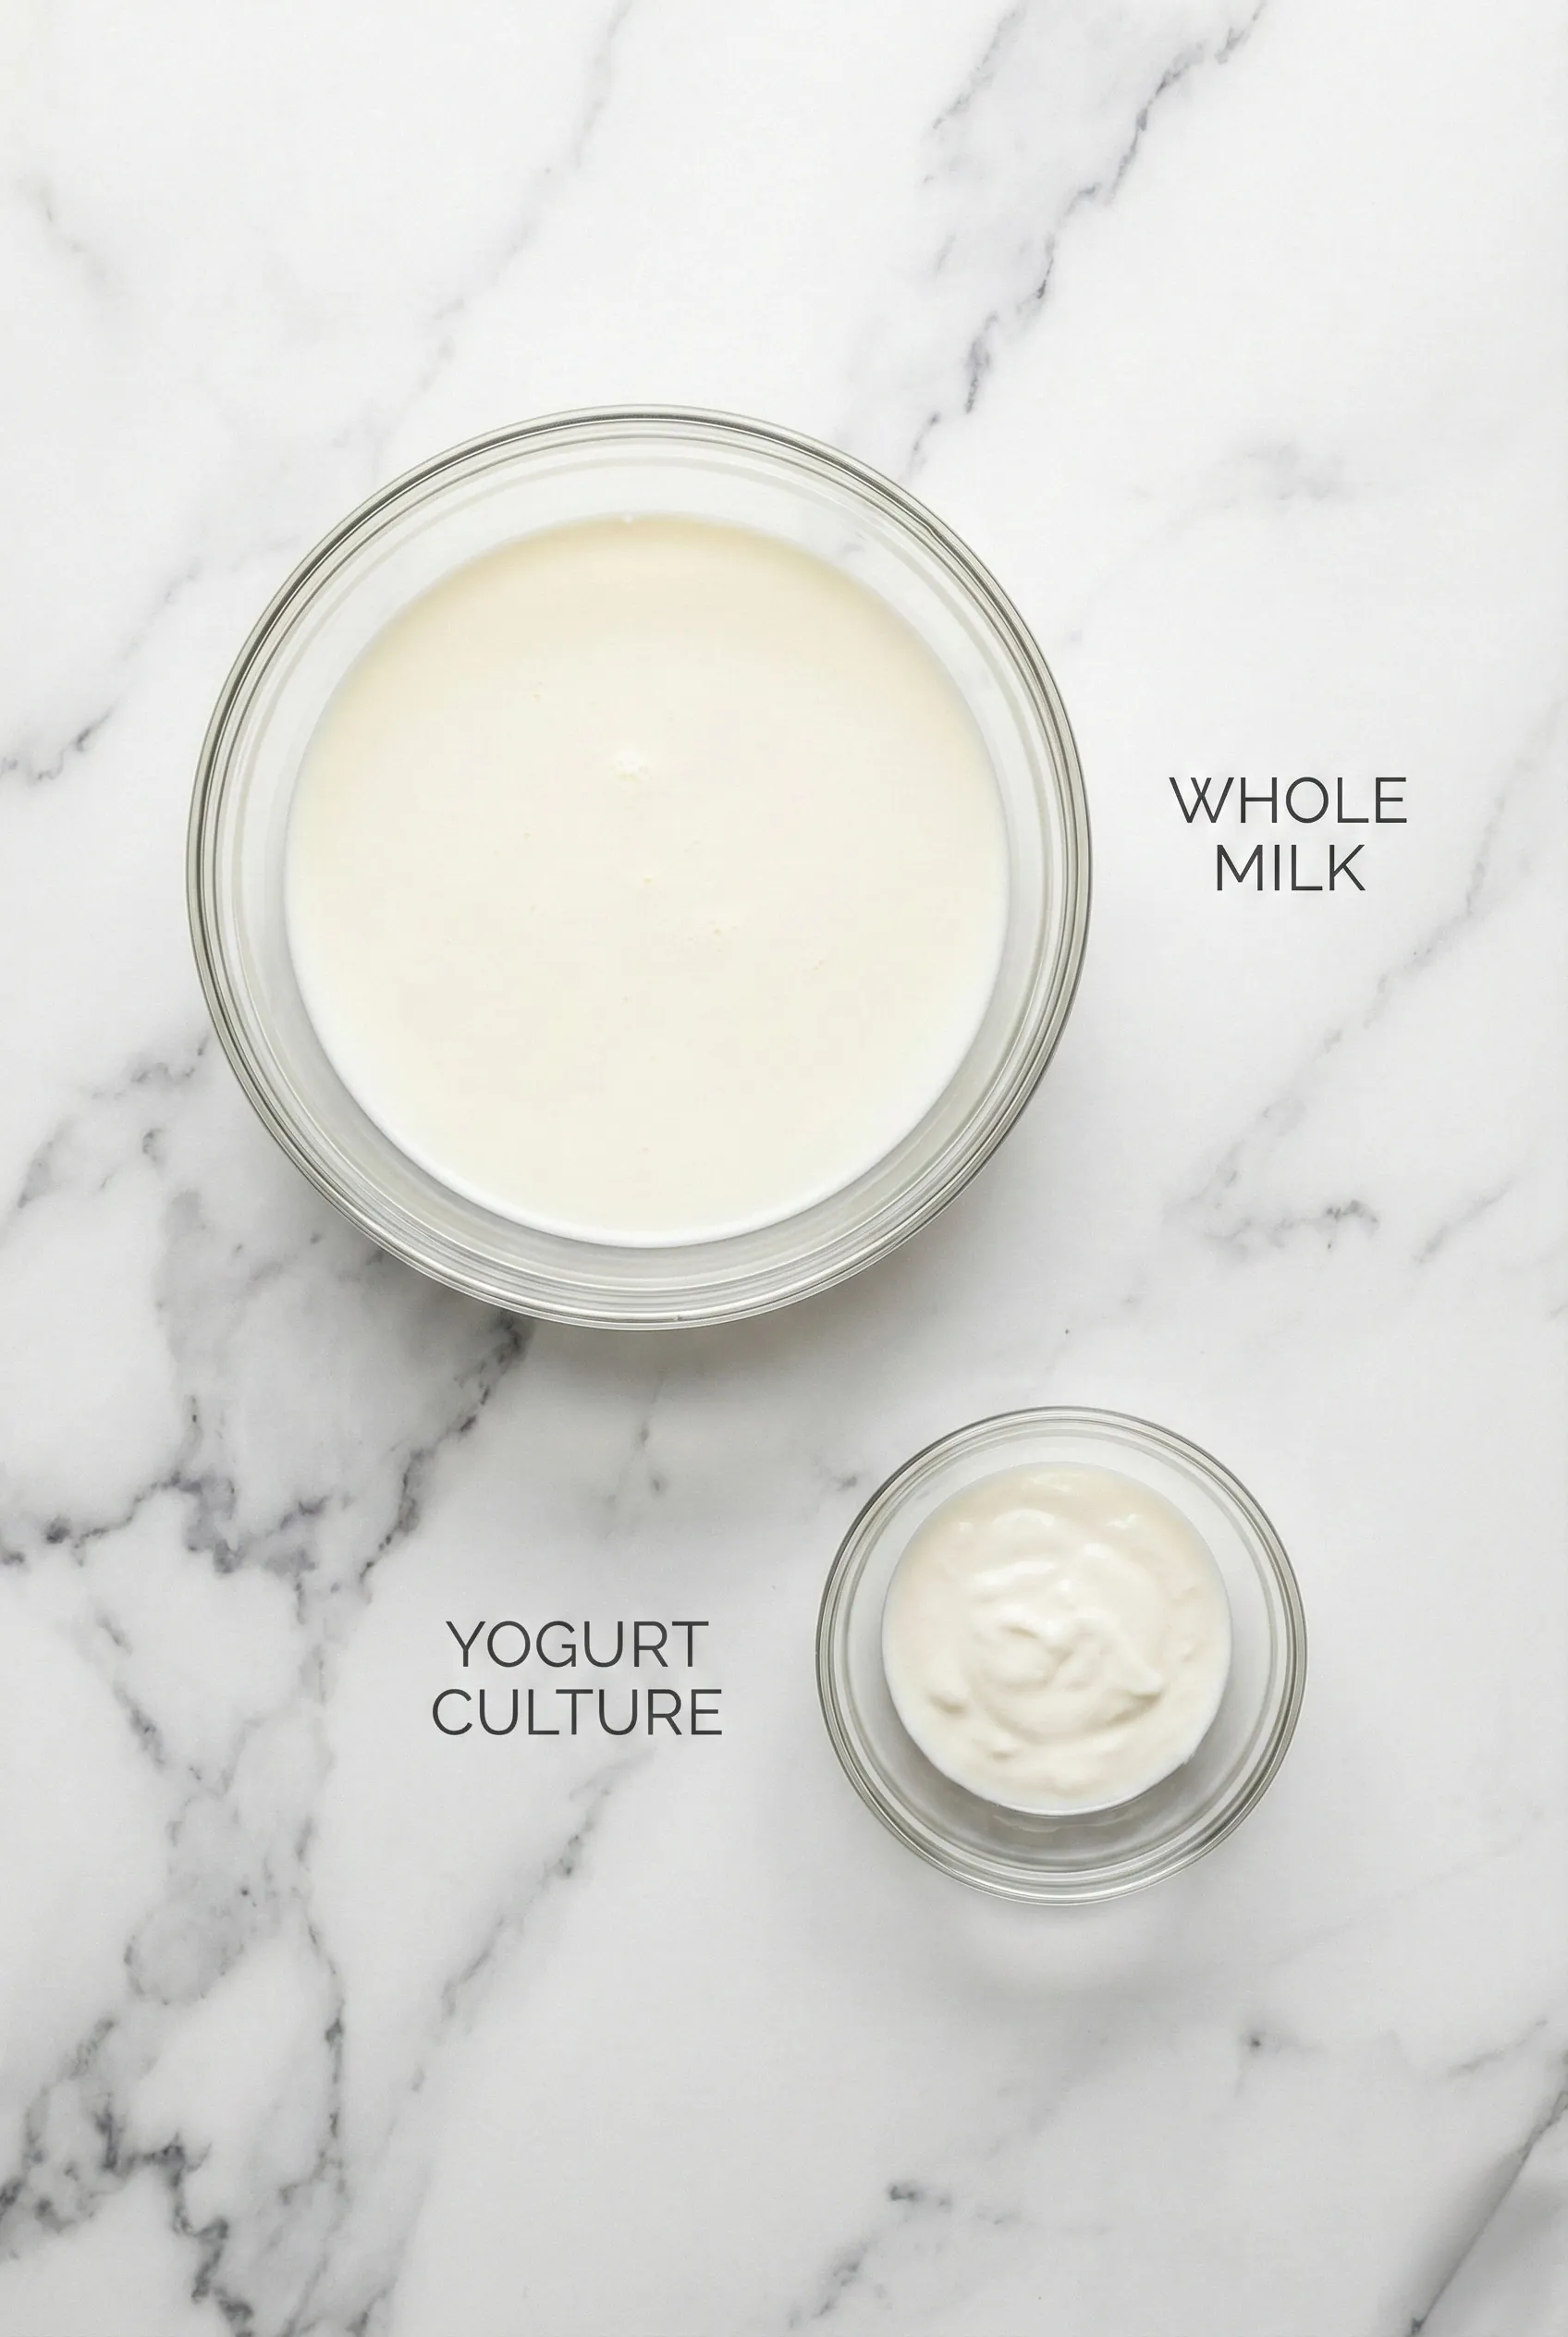
- 1 quart whole milk (or milk of choice)
- 2-3 tablespoons plain yogurt with live cultures
Tip: You can also use 2% or skim milk, but whole milk will give you the creamiest texture.
Optional Add-Ins: Consider flavored extracts, sweeteners, or fruits after the yogurt has set for extra taste!
Step-by-Step Instructions
Step 1: Heat the Milk
Pour the milk into a saucepan and heat it over medium heat until it reaches 180°F. Stir occasionally to prevent scorching. This step helps to denature the proteins, ensuring a smooth texture.
Step 2: Cool the Milk
After reaching the target temperature, remove the saucepan from heat and let it cool down to about 110°F. You can speed up this process by placing the saucepan in a cold water bath. This is crucial for the yogurt cultures to thrive!
Step 3: Add the Yogurt Culture
Once the milk has cooled, whisk in the plain yogurt (your starter). Ensure it’s well combined but avoid vigorous mixing. This gentle incorporation helps distribute the cultures evenly.
Step 4: Ferment the Yogurt
Transfer the mixture to a clean jar or container. Cover it with a lid or a clean towel. Place it in a warm spot (like an oven with the light on) for 6-12 hours to ferment. The longer it sits, the tangier it will become, so taste it at intervals to find your perfect flavor!
Step 5: Chill and Enjoy
After fermentation, transfer your yogurt to the refrigerator. Allow it to chill for at least 2 hours before serving. This step helps the yogurt firm up and enhances the flavor!
Nutrition info (per serving): Approximately 100 calories, 6g protein, 4g fat, 8g carbs.
Extra Guidance: If you want a thicker yogurt, strain it through cheesecloth for a couple of hours to create a Greek yogurt consistency. The possibilities are endless!
Final Thoughts
Honestly, this homemade yogurt recipe is not just a cooking project; it’s a delightful journey to a creamier, healthier lifestyle. Once you try it, you’ll wonder why you ever bought yogurt from the store! So, roll up your sleeves and dive into yogurt making—trust me, you’ll love it!
Creamy Homemade Yogurt
-
Total Time:
12 hr 30 mins -
Yield:
4 servings
Discover the joy of making creamy homemade yogurt with our step-by-step guide, perfect for a deliciously smooth and tangy treat.
Ingredients
- • 1 quart whole milk (or milk of choice)
- • 2-3 tablespoons plain yogurt with live cultures
Instructions
- Pour the milk into a saucepan and heat it over medium heat until it reaches 180°F. Stir occasionally to prevent scorching.
- Remove the saucepan from heat and let it cool down to about 110°F.
- Whisk in the plain yogurt (your starter) once the milk has cooled.
- Transfer the mixture to a clean jar or container, cover it, and place it in a warm spot for 6-12 hours to ferment.
- After fermentation, transfer your yogurt to the refrigerator and chill for at least 2 hours before serving.
Notes
Storage: Store leftovers in an airtight container in the fridge for up to 3 days.
- Prep Time: 15 mins
- Cook Time: 15 mins
- Category: Dessert
- Cuisine: American
- Method: Oven